In order to ready my Evergreen Starburst Rolyalex canoe for a season of whitewater paddling I outfitted it with end air bags, thigh straps, and knee pads.
| Materials and Costs | |
|---|---|
|
|
| Tools Required | |
|---|---|
|
|
Step 1: Drawing Shape

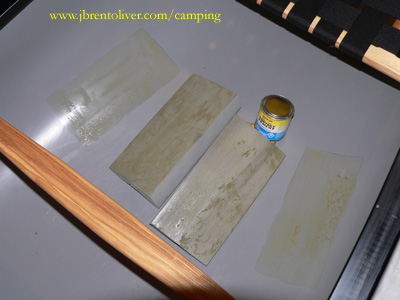
I purchased a 1 sq.ft. (4" thick) minicell foam from Mountain Equipment Co-op in Toronto. To make the first 2 knee pads I first cut the block in half so that I had a 12" x 6" x 4" block.
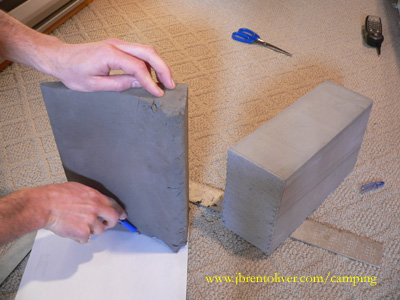
If you have an old knee pad that you liked in the past trace its shape onto a piece of paper. Generally speaking, you want a shape that will hold your knee securely in place. Foam shaped such that it is higher on the inside will keep your knees from sliding towards the centre of the canoe during a critical manoeuver on the river.
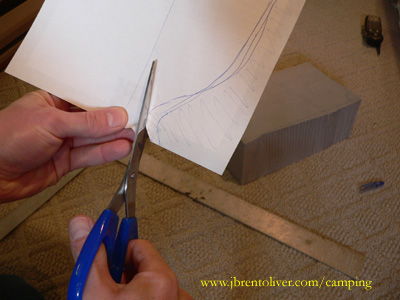
Cut out your traced or custom drawn shape.

Use the paper template to trace the outline of the knee pad on the end of the foam block. Depending on the size and shape, you should be able to create 2 knee pads from the single 12" x 6" x 4" block of foam.
Step 2: Rough Cuts
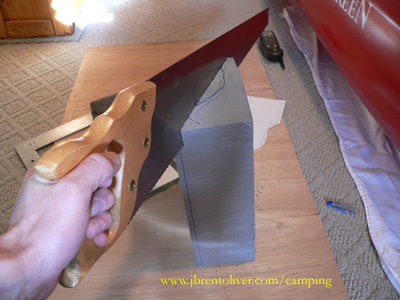
Using a handsaw cut the foam block along the diagonal to create two pieces.
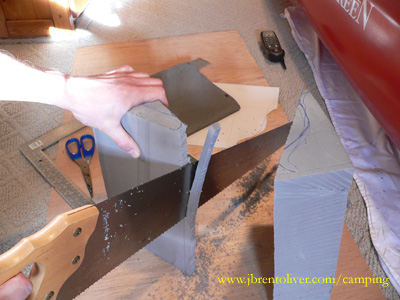
Using the handsaw trim off as much excess foam as you can.
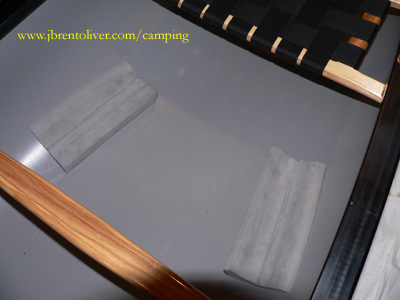
Step 3: Sanding
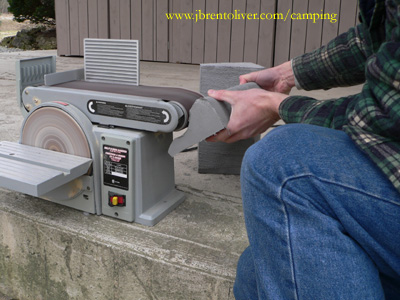
Use a belt sander to sand down close to your trace lines. Depending on your chosen shape you may be able to come pretty close to doing all the necessary sanding using a combination of electric sanders and Dremel tool. Doing as much as possible using electric equipment will result in a much smoother finish than you can achieve by hand sanding.

If necessary -- and it was necessary for my chosen shape -- complete the shaping using rough sandpaper and/or Dragon Skin steel sanding sheet. The Dragon Skin (by Red Devil) is flexible and long lasting and is perfect for shaping minicell foam. I purchased it from a local canoe manufacturer's retail outlet but you may be able to find it at a local hardware store.
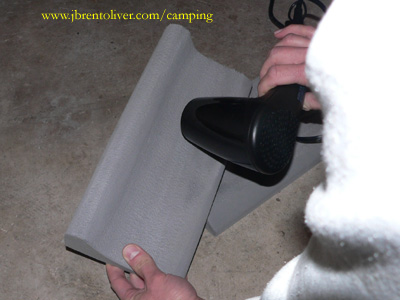
When you have sanded the surface to the desire shape and smoothness finish it off by using a heat gun to further smooth the surface and to give it a sheen.
Step 4: Installing
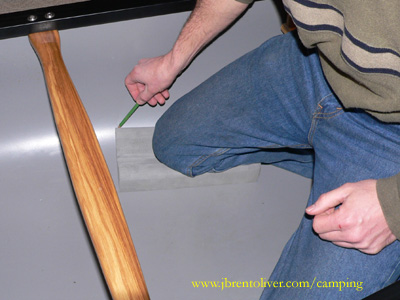
Place the finished knee pads in the canoe and sit in the canoe as you would when running a set of rapids. Generally you want a wide stance with three points of contact: your two knees on the canoe floor and your bum on the front of the seat. To get it just right you might want to temporarily secure the knee pads to the canoe's foor using duct tape and then take it for a spin on a local lake. Make adjustments as necessary. When you have the knee pads positioned just where you want them draw an outline of them with a pencil.
Use 150 or 200 grit sandpaper to slightly rough up the vinyl where the knee pads will be glued. After sanding clean the surface using contact cement thinner and a clean rag.
Brush a thin, even layer of contact cement inside the knee pad outlines and on the back surface of the knee pads. Make sure you go right to the edges (or even a couple millimetres beyond). Let the surfaces dry for 15+ minutes. When dry, carefully place the knee pads into position and apply pressure over the entire surface area to remove any air pockets and make sure there is a good bond.
Step 5: Final Result
The end result are comfortable knee pads to help hold you securely in position while canoeing your favourite stretch of rapids.
Consider now installing end bags and thigh straps.
.png)